RV Roof Maintenance Made Easy: Tips for Longevity and Protection
Your RV is more than just a vehicle. It’s your mobile home, your weekend getaway, and sometimes your full-time living space. And just like any home, it needs regular upkeep. One of the most overlooked but most important areas is the RV roof. Think about it—your roof protects everything underneath, from your comfy bed to your morning coffee maker. Without proper RV roof maintenance, small issues can quickly snowball into costly repairs.
Let’s explore how to keep your RV roof in top shape, extend its life, and avoid unexpected headaches when you’re out on the open road.

Why RV Roof Maintenance Is So Important
Your RV roof may not be the first thing you think about when planning a trip, but it’s arguably one of the most vital parts of the entire vehicle. A well-maintained roof ensures you stay dry during rainstorms, keeps your air conditioning efficient, and prevents water damage that can ruin your investment.
Here’s why RV roof maintenance should never be skipped:
- Prevents water leaks: Water can seep through small cracks or holes in the roof, damaging walls, floors, and electrical systems.
- Extends roof lifespan: Regular cleaning and sealing can add years to your RV roof.
- Protects your investment: RVs aren’t cheap. Proper roof care preserves value and resale potential.
- Saves money: Small maintenance tasks cost far less than replacing an entire roof.
Think of it this way—ignoring your RV roof is like ignoring a cavity in your tooth. At first, it’s just a little problem. But give it some time, and suddenly you’re paying for a crown.
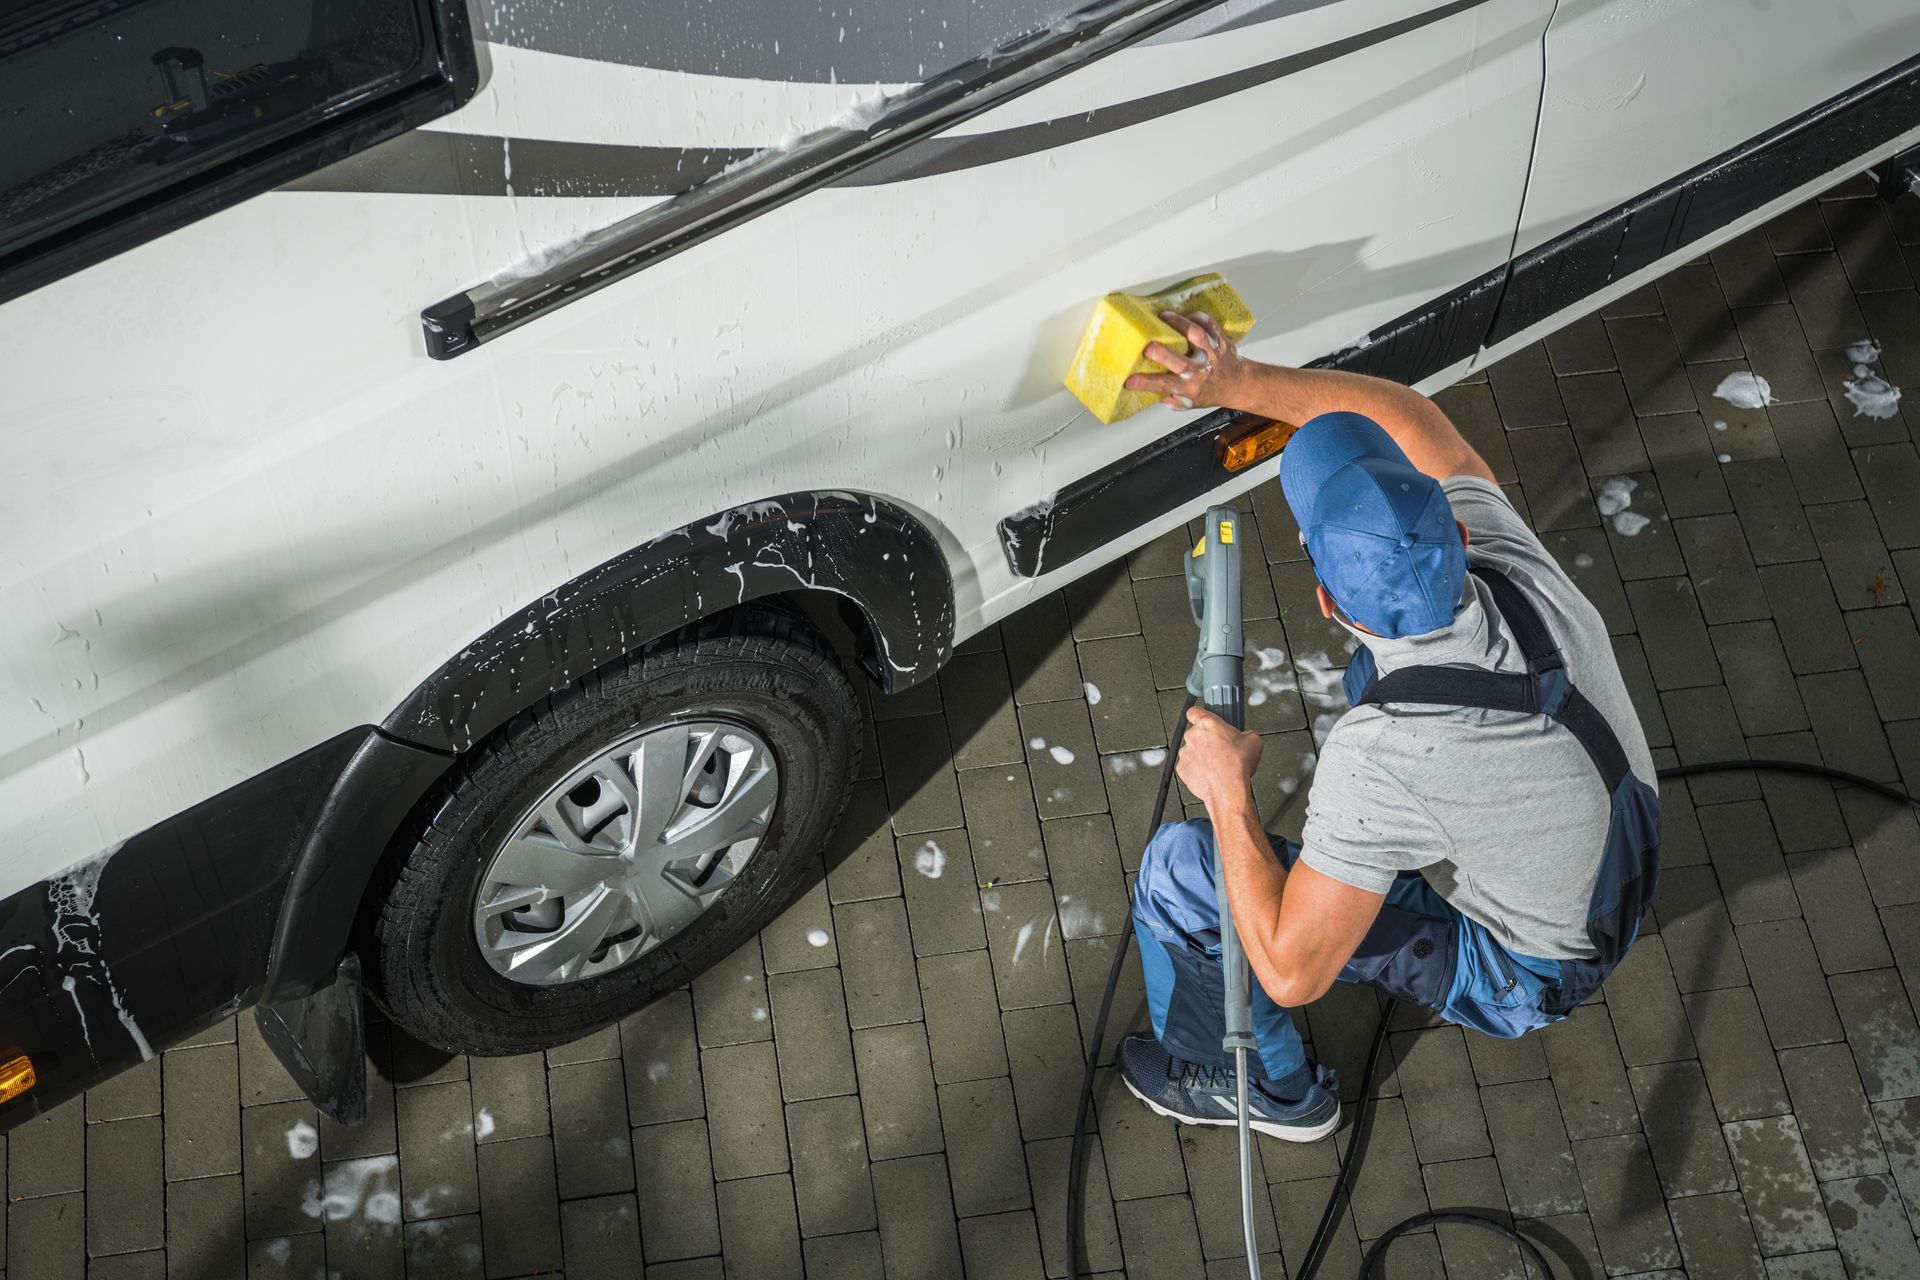
Cleaning Your RV Roof the Right Way
Keeping your RV roof clean is the foundation of maintenance. Dirt, debris, and even bird droppings can cause long-term damage if not addressed. Plus, cleaning gives you a chance to spot early signs of trouble.
Steps to Clean Your RV Roof:
- Gather supplies: Use a soft brush, mild soap or RV roof cleaner, and a garden hose. Avoid harsh chemicals that can strip away protective coatings.
- Pick a safe spot: Park your RV on a flat surface and use a stable ladder. Safety first!
- Remove debris: Sweep off branches, leaves, and dirt before applying water.
- Scrub gently: Apply soap or cleaner and scrub in circular motions.
- Rinse thoroughly: Make sure no residue is left behind.
Pro Tips:
- Clean your roof at least 3-4 times per year.
- Always check your RV manual for approved cleaning products.
- Be cautious with pressure washers—they can do more harm than good.
Cleaning might feel like a chore, but it’s cheaper than repairing water-damaged ceilings inside your RV. Consider it your roof’s “spa day.”
Inspecting Your RV Roof for Trouble Spots
Cleaning is step one. Step two is giving your RV roof a careful inspection. This helps you catch problems early before they turn into expensive fixes.
What to Look For:
- Cracks or splits: Pay special attention to corners and seams.
- Loose or missing sealant: Sealant can dry out over time, creating entry points for water.
- Soft spots: Step carefully across the roof and feel for spongy areas, which can signal hidden water damage.
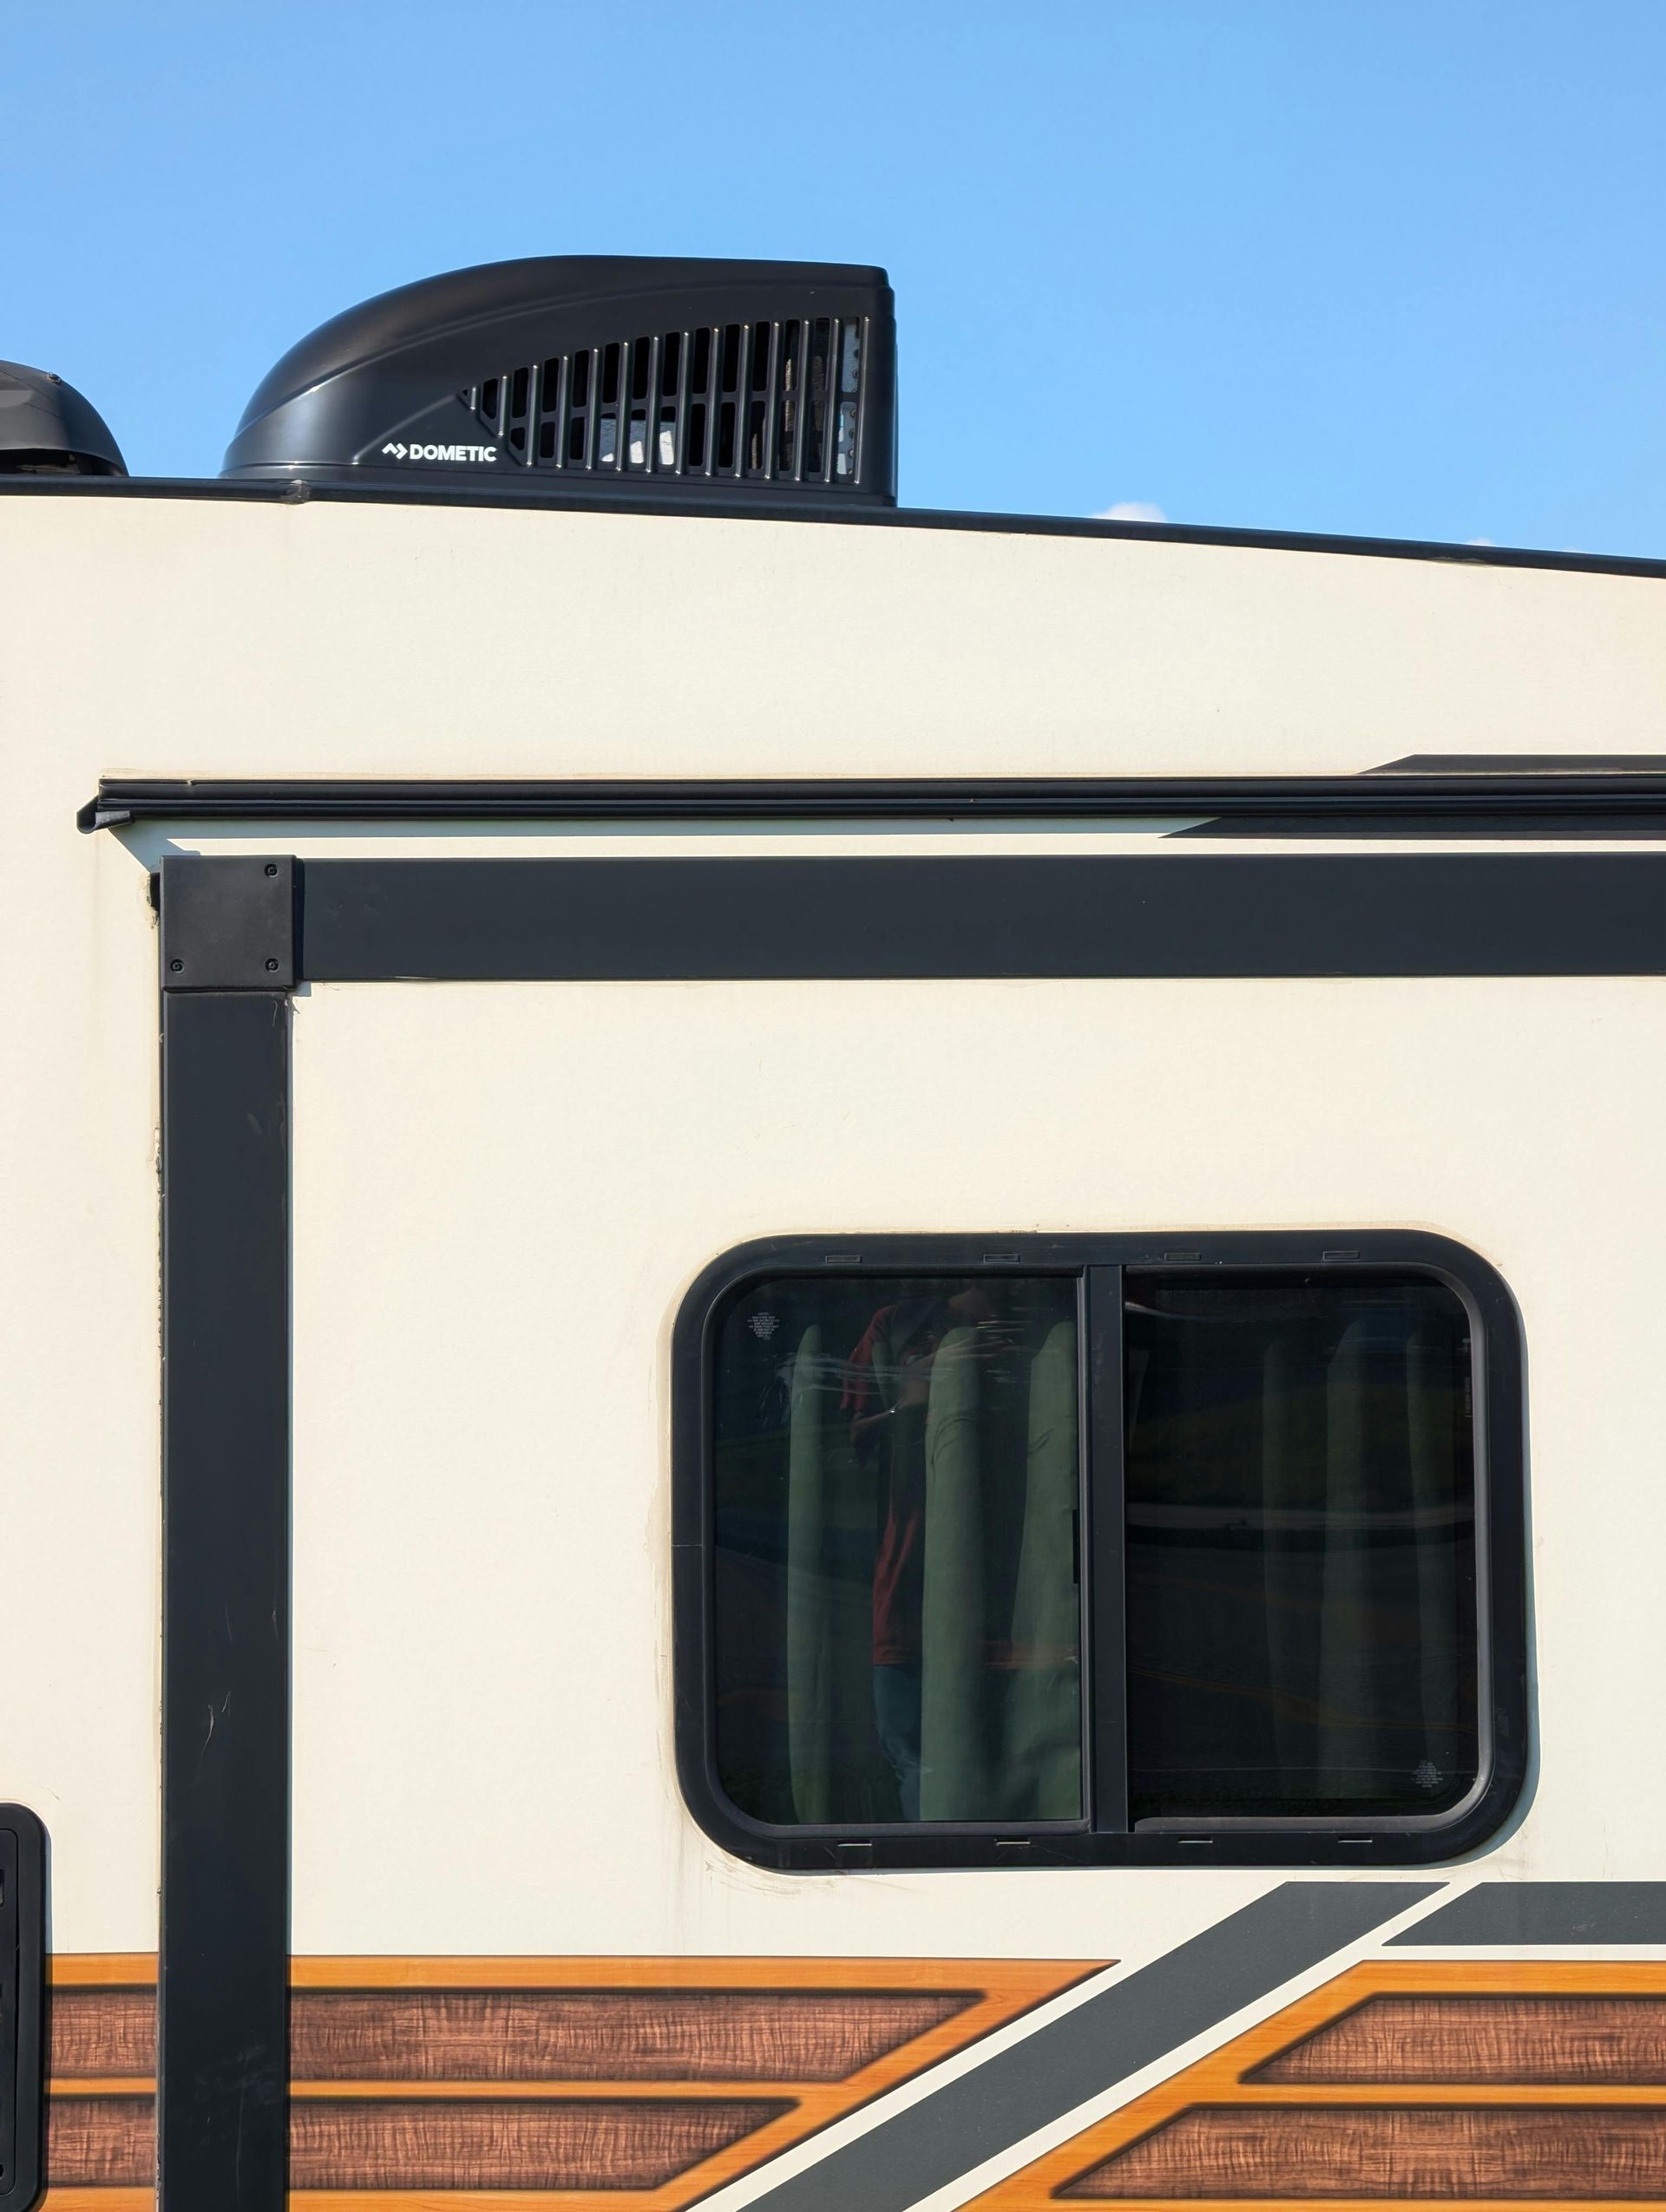
- Damaged vents or covers: These are common weak spots where leaks begin.
Inspection Checklist:
- Inspect your roof at least every three months.
- Always check after heavy storms or long trips.
- Keep a tube of RV sealant handy for quick patch jobs.
Think of this as your roof’s regular checkup. Just like you wouldn’t skip a doctor’s appointment, don’t skip these inspections if you want to avoid big repair bills.
Sealing and Protecting Your RV Roof
Sealing is where RV roof maintenance really pays off. Sealant is like sunscreen for your roof—it blocks UV rays and prevents water from finding a way in. Without it, your roof becomes vulnerable to cracking and deterioration.
How to Reseal Your RV Roof:
- Clean first: Never apply sealant over dirt.
- Choose the right product: Use sealant that matches your RV roof material (EPDM, TPO, fiberglass, or aluminum).
- Apply evenly: Focus on seams, edges, and around roof fixtures.
- Allow time to cure: Check the label for drying times before exposing it to rain.
Added Protection:
- Apply a UV protectant to prevent sun damage.
- Store your RV under a cover or in shaded areas when possible.
- Use an RV roof coating product every few years for an extra layer of defense.
Remember, a little tube of sealant can save you thousands of dollars. If your roof could talk, it would probably say, “Thanks for the sunscreen!”
Contact Temple RV Repair for RV Roof Maintenance in Rockwell, NC
Your RV adventures should be about exploring new places, not worrying about leaks and roof damage. At Temple RV Repair, we specialize in keeping your RV roof in excellent condition. From routine cleaning and sealing to repairing leaks and addressing storm damage, our expert team knows how to protect your investment. Call us today at (704) 471-4949 to schedule your professional RV roof maintenance in Rockwell, NC, and the surrounding areas.
In addition to RV roof services, we also provide
Mobile RV Repair Work,
RV Storage, and
RV Shop Repair Work to cover all your needs. Whether you’re preparing for a long road trip or keeping your RV in top shape while it’s parked, Temple RV Repair is your trusted partner for all things RV.
FAQs
How often should I clean my RV roof?
At least 3-4 times per year, plus after long trips or heavy storms.
What type of cleaner should I use on my RV roof?
Always use a cleaner approved for your RV roof material. Avoid harsh chemicals like bleach or petroleum-based products.
How do I know if my RV roof needs resealing?
Look for cracks, peeling sealant, or visible gaps around seams and vents. If in doubt, reseal.
Can I walk on my RV roof?
Most RV roofs are walkable, but always check your owner’s manual. Step carefully and use a stable ladder.
How long does an RV roof last with proper maintenance?
Depending on the material, an RV roof can last 20 years or more if it’s cleaned, sealed, and inspected regularly.