Sealing Your RV Roof: A Step-by-Step Guide to Prevent Leaks
If you own an RV, you know that freedom comes with a little bit of responsibility—especially when it comes to keeping water out. One of the biggest threats to any RV is roof leaks. Even a tiny drip can turn into major damage if left unchecked. That’s why sealing your RV roof regularly is one of the most important parts of RV maintenance.
In this guide, we’ll cover everything you need to know about
sealing your RV roof and seams, from why it’s necessary to how to do it right. We’ll even throw in a few practical tips (and a laugh or two) to make the process a little less intimidating.
Why Sealing Your RV Roof Is So Important
Imagine this: you’re parked under the stars, ready to fall asleep to the sound of crickets. Then, it starts raining—and suddenly, you hear that unmistakable “drip… drip…” from above. That’s the sound of water sneaking into your RV.
The roof is your RV’s first line of defense against the elements. Without regular sealing, water can creep through even the smallest cracks in the seams and joints. Over time, this leads to rot, mold, and expensive repairs that no one wants to deal with.
Benefits of Regular RV Roof Sealing:
- Prevents leaks: Keeps rainwater from finding its way inside.
- Extends roof life: A sealed roof lasts longer and withstands harsh weather better.
- Saves money: It’s much cheaper to reseal your roof than to replace it.
- Protects your interior: Prevents water damage to walls, floors, and electronics.
- Maintains resale value: A well-maintained RV is worth far more down the road.
Think of
sealing your RV roof like sunscreen for your rig. It might not seem urgent, but you’ll regret skipping it when the damage starts to show.
Signs It’s Time to Reseal Your RV Roof
Not sure if it’s time to reseal your roof? Don’t worry—it’s usually easy to tell once you know what to look for. The key is catching the problem early before leaks develop.
Common Signs You Need to Reseal:
- Cracked or peeling sealant: Old sealant dries out and separates from the surface.
- Discoloration or soft spots: These indicate moisture buildup under the surface.
- Visible gaps in seams: Seams that look separated or uneven can let water in.
- Stains or water marks inside: If you see discoloration on the ceiling, water’s already found its way in.
- Rough weather exposure: After storms, hail, or long sun exposure, sealant often needs refreshing.
Even if your RV roof looks okay, it’s smart to check it at least twice a year—once before camping season and once after. A 10-minute inspection could save you from a thousand-dollar headache.
Preparing Your RV Roof for Sealing
Before you start sealing your RV roof, you’ll need to prep the surface. Skipping this step is like painting over dirt—it won’t last long.
Tools and Materials You’ll Need:
- RV-safe roof sealant (compatible with your roof type)
- Roof cleaner or mild detergent
- Caulking gun
- Scraper or plastic putty knife
- Rags or paper towels
- Safety gloves and goggles
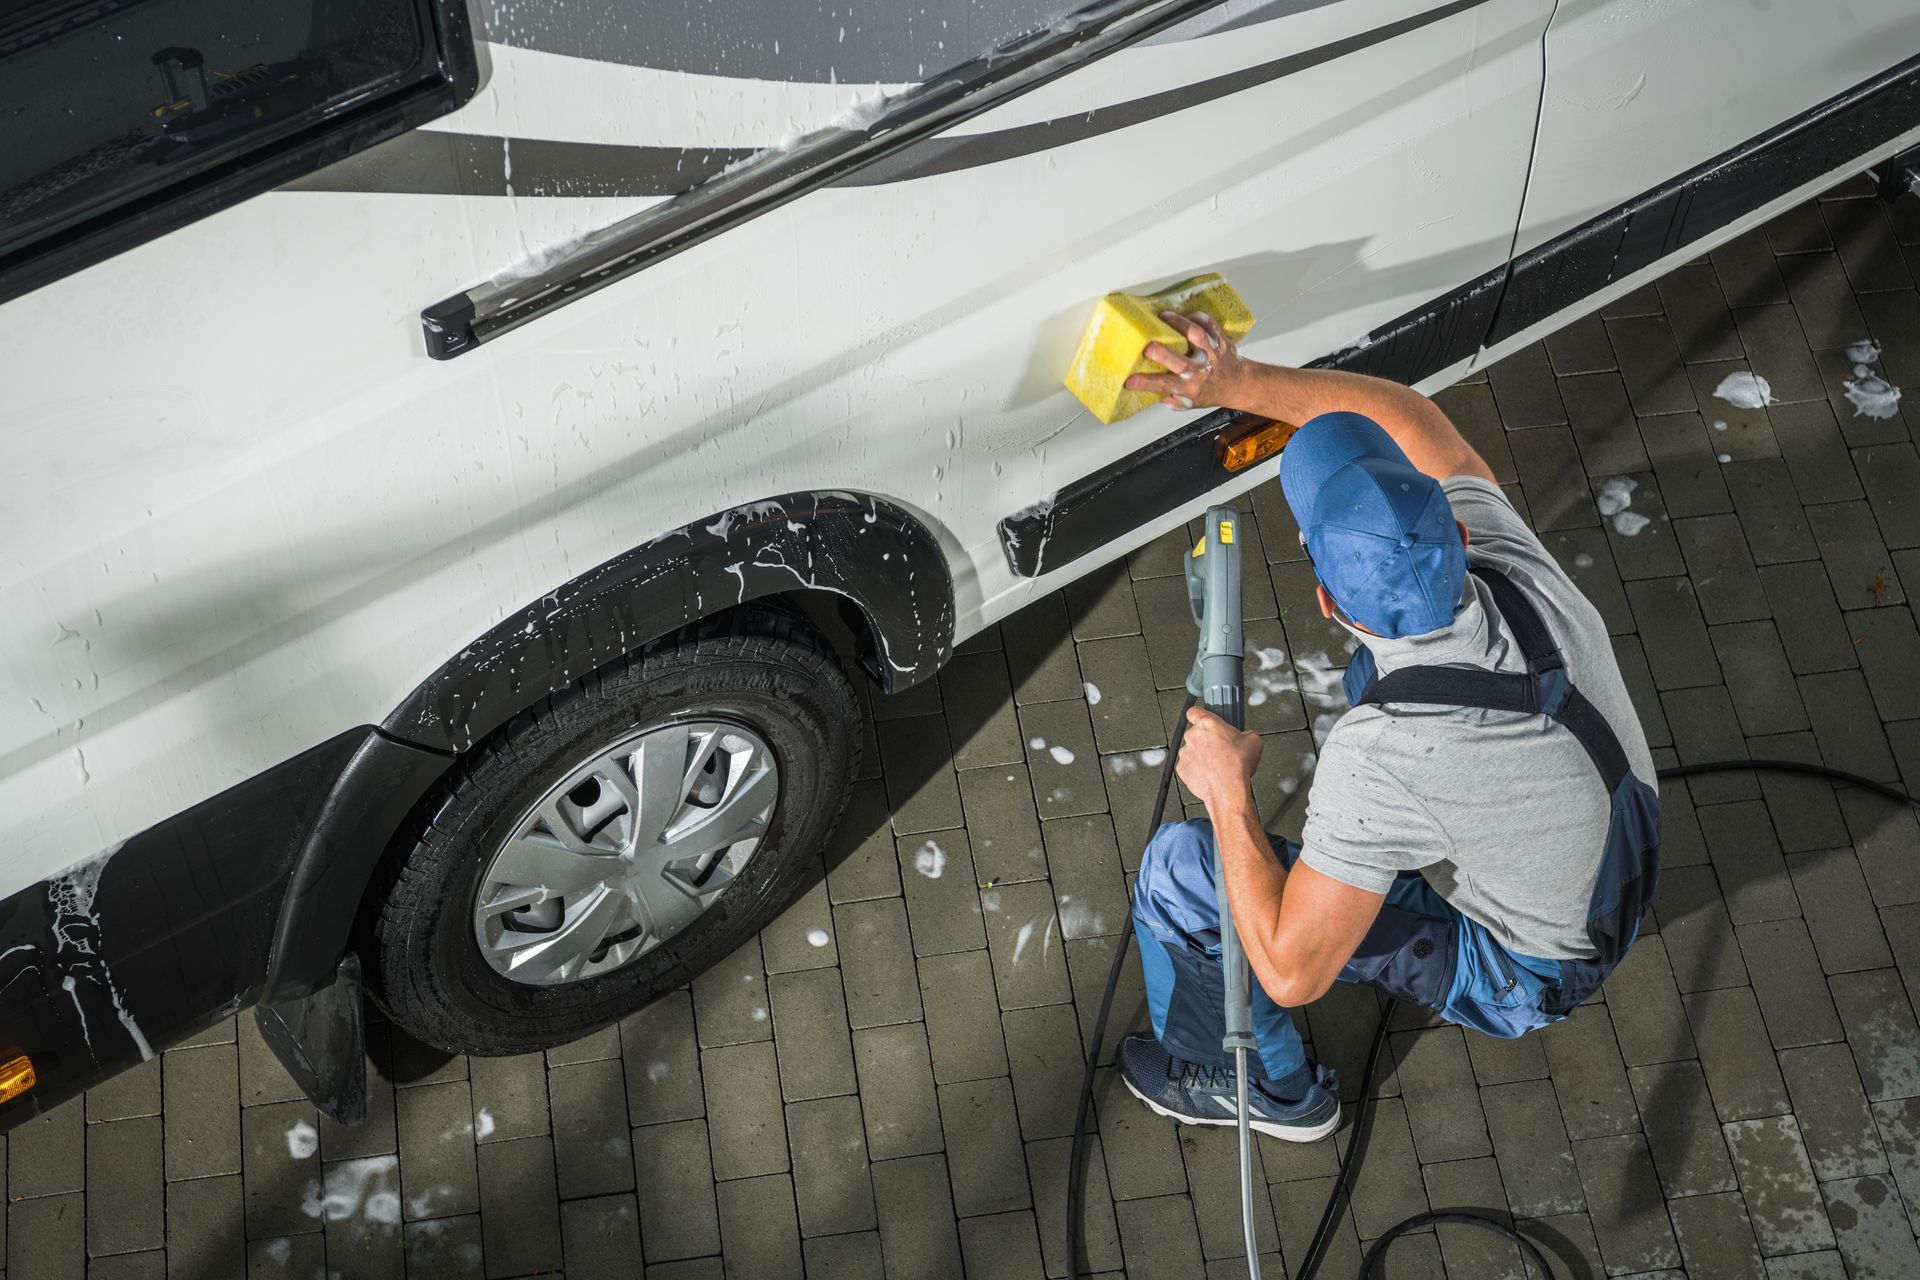
Step 1: Clean the Roof Thoroughly
- Use a hose and a soft brush to remove dirt and debris.
- Wash with an RV roof cleaner or mild soap.
- Let the roof dry completely before applying sealant.
Step 2: Remove Old Sealant
- Carefully scrape away cracked or peeling sealant.
- Don’t gouge the roof surface—gentle and steady wins the race.
- Wipe down the area to remove leftover residue.
Step 3: Check for Damage
- Look for cracks, soft spots, or holes that need repair before sealing.
- If you find major damage, consider professional help before proceeding.
Prepping might not be the most fun part of the job, but it’s the secret to a leak-free, long-lasting seal.
Sealing Your RV Roof: Step-by-Step
Now it’s time to get your hands a little dirty. Don’t worry—sealing your RV roof isn’t rocket science. It just takes patience and the right technique.
Step 1: Apply the Sealant
- Load your caulking gun and apply the sealant along seams, edges, and around roof fixtures like vents and skylights.
- Use smooth, even pressure for a clean bead.
- Overlap slightly on both sides of the seam to ensure full coverage.
Step 2: Smooth It Out
- Use a caulk smoothing tool or your finger (with gloves on) to press the sealant into place.
- This helps fill gaps and creates a watertight bond.
Step 3: Apply Roof Coating (Optional but Recommended)
- Once the sealant cures, apply an RV roof coating for extra protection.
- This acts as a waterproof layer and reflects UV rays, keeping your RV cooler.
Step 4: Let It Cure
- Most sealants need 24–48 hours to fully set.
- Avoid moving or washing your RV during this time.
Pro Tip:
If you’re sealing RV roof seams, work in small sections so the sealant doesn’t start drying before you spread it. Take your time—rushing leads to sloppy seams and future leaks.
Contact Temple RV Repair for RV Roof Sealing in Rockwell, NC
When it comes to sealing your RV roof, precision and experience make all the difference. At Temple RV Repair, our technicians know how to keep your RV protected from leaks, cracks, and the wear of the road. We specialize in professional roof sealing and maintenance for all RV types, ensuring a watertight finish that lasts. Call us today at (704) 471-4949 to schedule your service in Rockwell, NC, and the surrounding areas.
In addition to roof sealing, we also offer
Mobile RV Repair Work,
RV Storage, and
RV Shop Repair Work. Whether you need a quick roof fix, a convenient place to store your RV, or professional maintenance for your next trip, Temple RV Repair is your one-stop destination for all things RV.
FAQs
How often should I reseal my RV roof?
Most RVs need resealing every 1–2 years, depending on weather conditions and roof type. Check the sealant regularly for cracks or peeling.
What type of sealant should I use on my RV roof?
Always choose a sealant compatible with your roof material (EPDM, TPO, fiberglass, or aluminum). Silicone and self-leveling lap sealants are popular choices.
Can I seal my RV roof myself?
Yes! Many RV owners do it themselves. Just be sure to clean the roof properly and follow product instructions carefully.
How long does it take to seal an RV roof?
Typically, sealing takes a few hours, plus 24–48 hours of curing time. Larger RVs may take longer.
What happens if I don’t seal my RV roof?
Water leaks can cause structural damage, rot, mold, and costly repairs. Regular sealing is much cheaper than replacing your roof or interior components.